Measure
Measure distances, perimeters, areas and radii on a PDF, set the scale of a drawing or calibrate it from a length you know, snap to the drawing's lines, and export the measurements to a spreadsheet.
The Measuring tool reads lengths and areas off a page: the size of a room on a floor plan, the length of a wall on a site plan, the area of a plot. Each measurement can stay on the page as a comment, with its value, so that others see it too.
Measure a distance, a perimeter or an area
- Open the document and click the Tools tab.
- Click Measure (in the Analyze group), and choose what to measure:
- Distance: drag from one point to the other.
- Perimeter: click each point of the path, then double-click the last one, or press Enter.
- Area: click each corner of the area, then double-click the last one, or press Enter. The area closes by itself between the last corner and the first.
- Radius: drag from the centre of a circle out to its edge.
- While you draw, the value so far shows next to the pointer, and the status bar hint says what to do next. When you finish, the measurement is added and its value shows in the status bar.
- The tool stays on: measure again, or press Esc to go back to Select. (While you are in the middle of a perimeter or an area, Esc first gives up that one.)
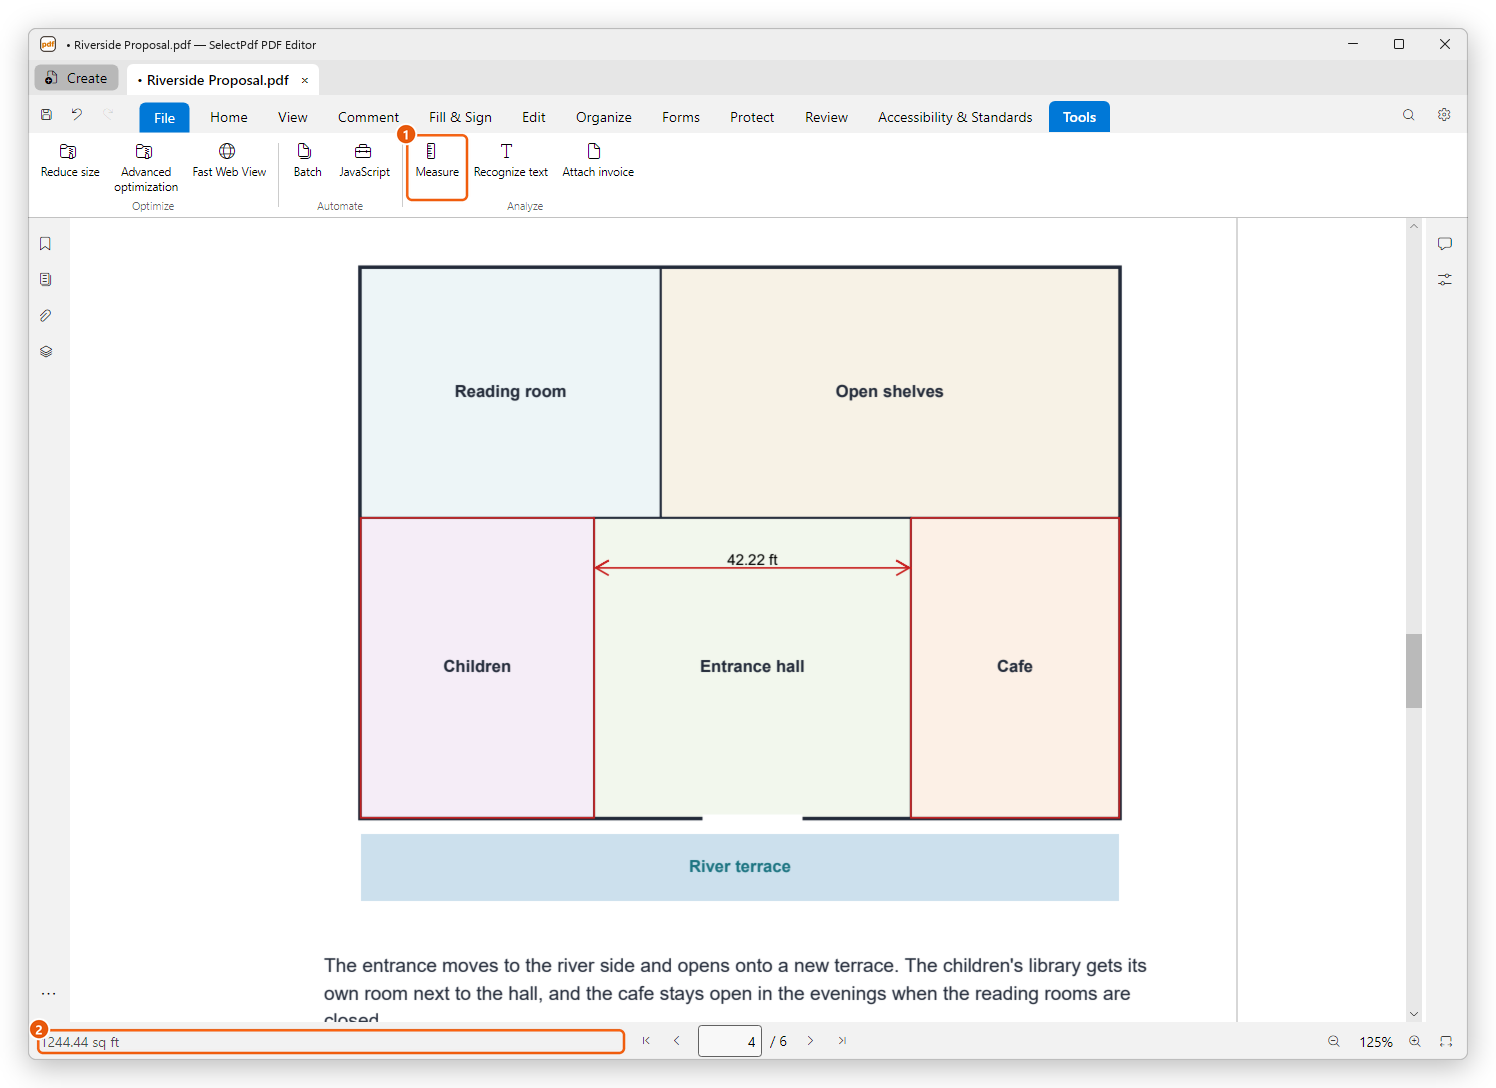
- Measure on the Tools tab.
- The value of the last measurement, in the status bar: the area of the children's room.
On the plan: the width of the entrance hall (a distance, with its value on the line), the perimeter of the cafe and the area of the children's room, each drawn in red.
Measuring and calibrating need Pro.
Set the scale
A drawing is usually made to a scale: on a plan at 1:192, one inch on paper is 16 feet in reality. Tell the editor the scale, and it gives the measurements in real units.
If you know the scale, type it in the Measuring options:
- Click Measure, then Measuring options.
- In Scale ratio:, type the length on paper and its unit (pt, in, mm or cm), and the real length it stands for and its unit (pt, in, ft, ft-in, yd, mi, mm, cm, m or km). For example 1 in = 16 ft.
- Click OK.
If you don't know the scale but the plan shows something whose size you know (a wall, a door, a scale bar), calibrate it:
- Click Measure, then Calibrate.
- Drag along the length you know, from one end to the other.
- Type its real length and choose its unit, then click OK.
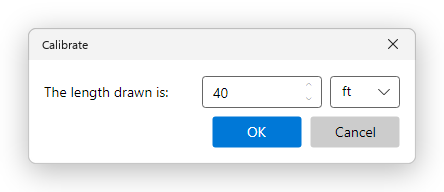
The scale is set from the length you drew, and the status bar says what an inch on paper now measures. In the example, the wall of the reading room is 2.5 inches long on paper and 40 feet in reality: an inch is 16 feet.
The scale is a setting of the editor: it stays the same for the next documents you open, until you change it. Set it again when you measure a drawing at another scale.
Measuring options
Click Measure, then Measuring options.
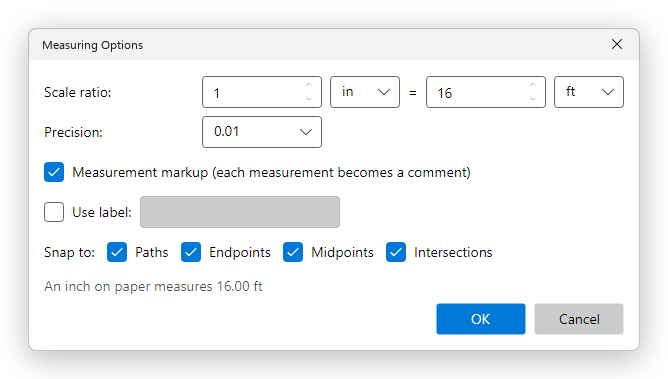
- Scale ratio: the length on paper and the real length it stands for (see above). ft-in gives lengths in feet and inches, such as 12' 6".
- Precision: how many decimals the values have: 1, 0.1, 0.01, 0.001 or 0.0001.
- Measurement markup (each measurement becomes a comment): when ticked, each measurement stays on the page as a comment. When not, the value only shows in the status bar, and nothing is added to the document.
- Use label: a word put before each value, for example Wall or Room.
- Snap to: what the pointer snaps to (see below).
The line at the bottom shows what an inch on paper measures with these settings.
Snap to the drawing's lines
While you measure, the pointer snaps to the lines of the page, so that a measurement starts and ends exactly on a wall or a corner. A small blue mark shows where it snapped:
- a square on the Endpoints of a line (a corner);
- a triangle on the Midpoints of a line;
- a cross on the Intersections of two lines;
- a circle anywhere along a line (Paths).
Untick these in Snap to: in the Measuring options to measure freely. The pointer snaps only when it comes within a few pixels of a line, so zoom in for precise measurements.
Measurements as comments
With Measurement markup (each measurement becomes a comment) ticked in the Measuring options (as it is at first), each measurement is a comment drawn in red: a distance as a line with arrows at both ends and its value over it, a perimeter as a path, an area as a closed shape, a radius as a circle. Its value is the comment's text.
They are in the Comments panel with the other comments, listed as Line (a distance), Polyline (a perimeter) and Polygon (an area), with their value. Like any comment, you can select a measurement and move it, delete it, change its colour in the Properties panel, or reply to it. See Manage comments.
Export measurements
Export measurements saves all the measurements of the document in a CSV file, which opens in Excel and other spreadsheets:
- Click Measure, then Export measurements.
- Choose where to save the file. It is named after the document, for example Riverside Proposal - Measurements.csv.
The file has one row per measurement, with its page, its type (Distance, Perimeter, Area or Radius), its value, its author and its date. Its columns are separated the way your region's spreadsheets expect them, so that Excel opens it in columns.
For drawings and shapes that are not measurements, see Drawings and shapes.